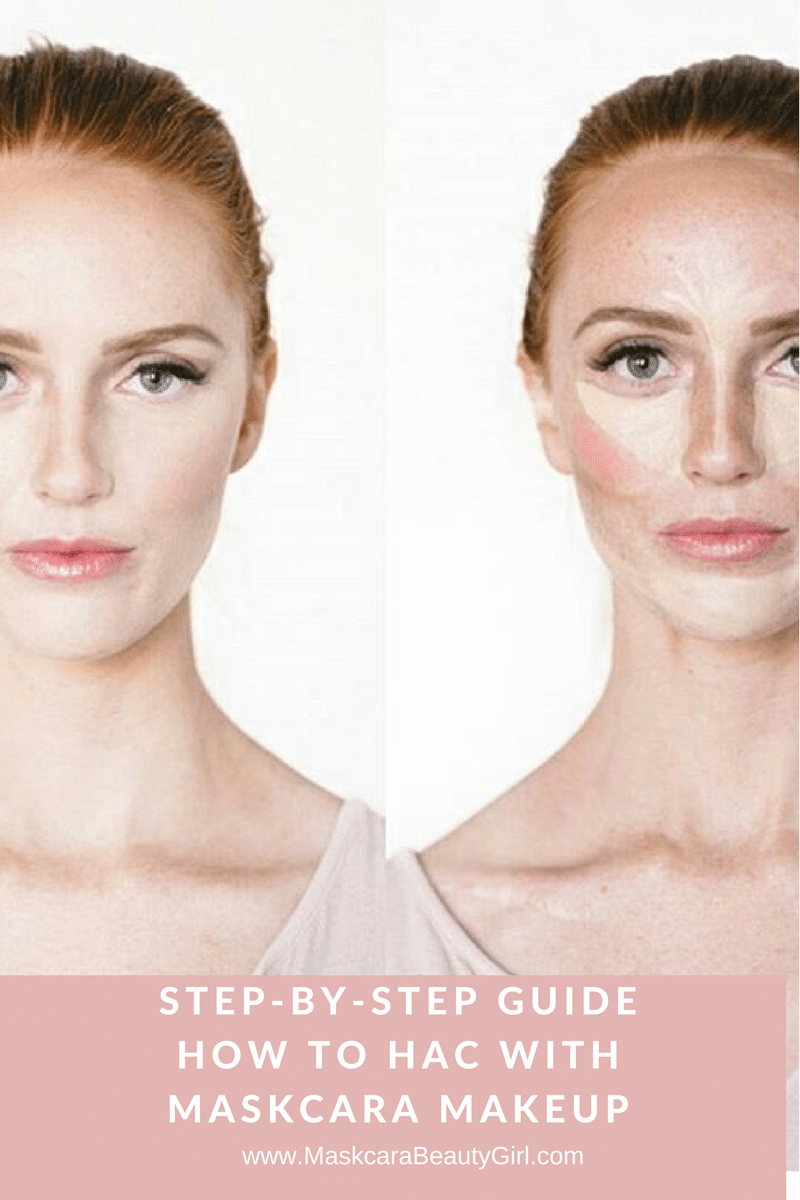
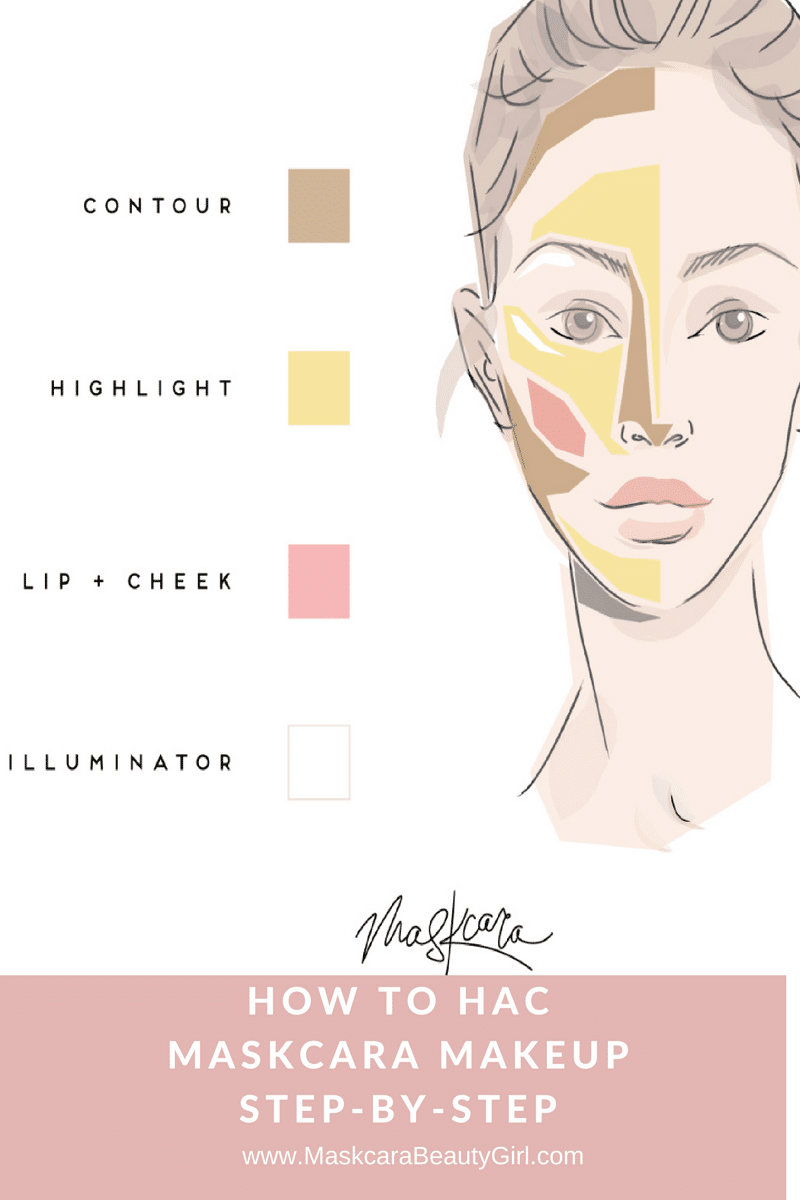
How to HAC Maskcara Makeup
First off, before you learn how to HAC, what in the world does HAC even mean?!
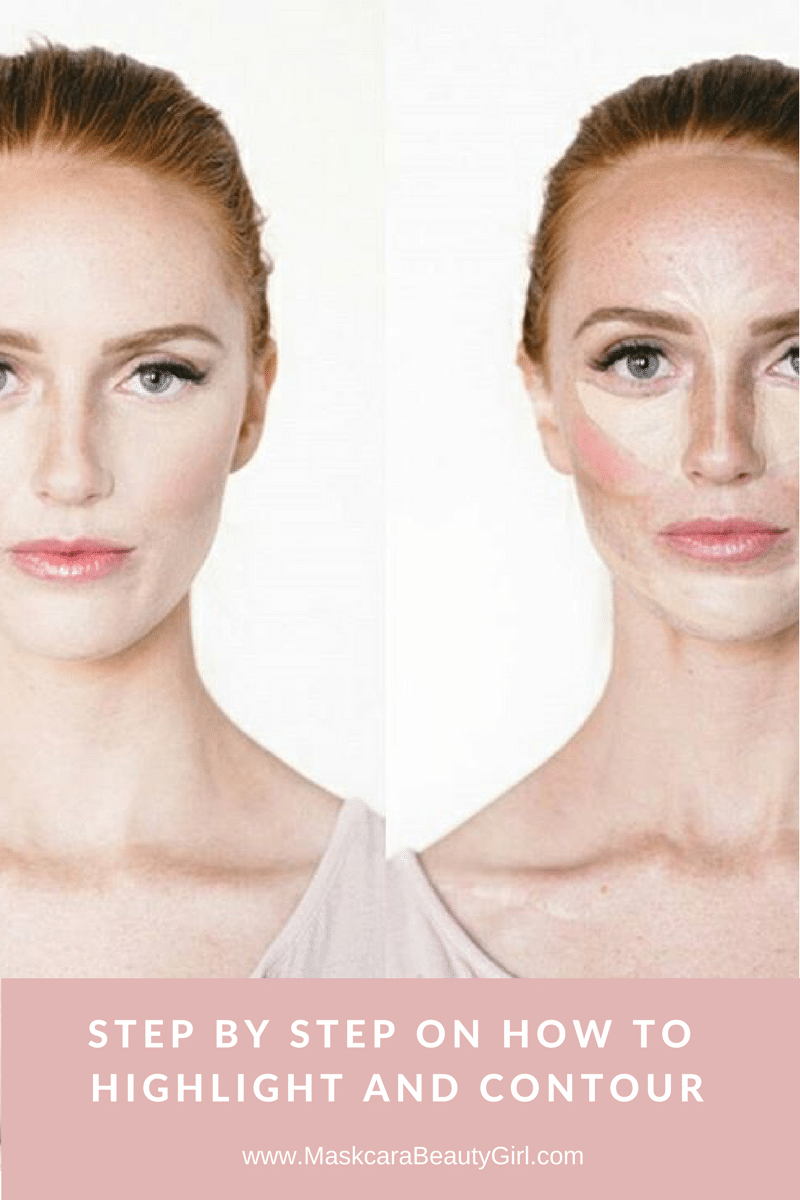
HAC = Highlight And Contour.
Let me introduce you to the world of IIID makeup…it will change your life forever! Do you remember hanging out in Gottschalks with your mom as the Clinique lady sold her a heavy foundation that would completely cover her face with one flat finish? Well, this is not your momma’s makeup! (But, your momma is more than welcome to use it!) It’s great for all ages, skin types, and colors.
Gone are the days of the bland face and here to stay is the contoured and highlighted brightened beauty! The beautiful thing about Maskcara makeup is that it is meant to enhance a woman’s natural beauty. Women were meant to shine. Women were meant to be different. This makeup will help any woman feel and look gorgeous. Let me show you how!
So, how to HAC for Maskcara makeup?
Step 1: Choose colors (highlight, contour, blush, and illuminator) that will compliment your skin tone. You can build your custom palette HERE.
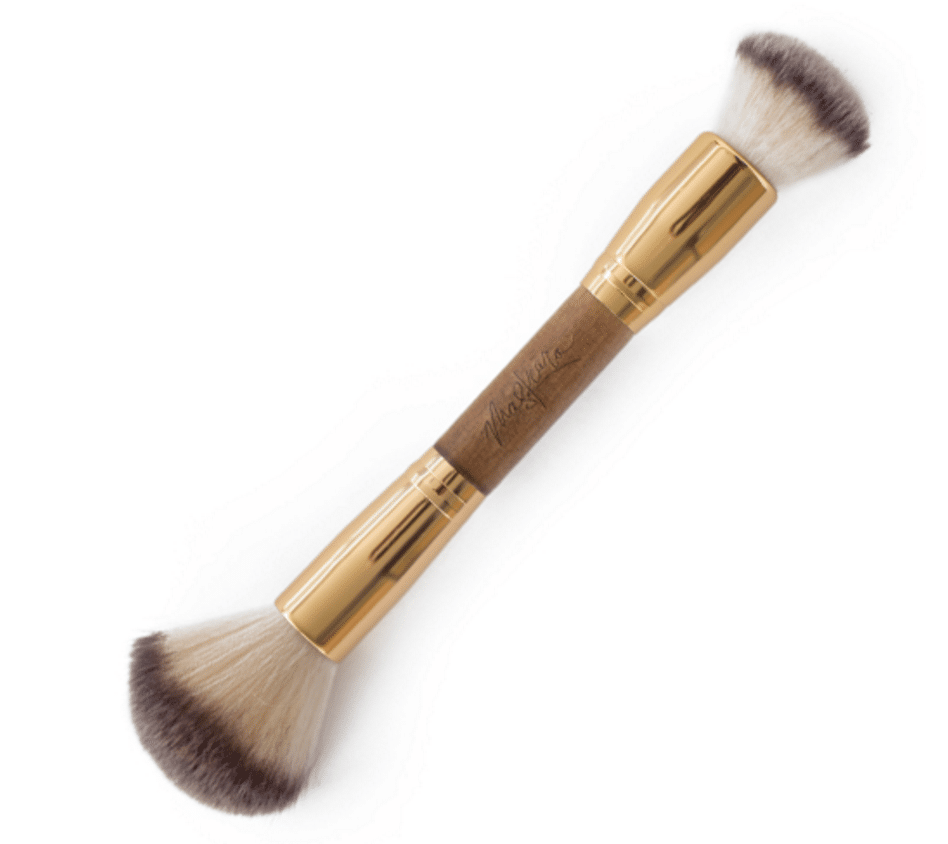
Don’t know what colors to pick? Take our Color Matching Quiz to help you out. You will also need a iiid Brush and IIID Perfector Sponge…this brush and sponge are a must! They will help you achieve your flawless face in five minutes. Once you have that settled, the fun begins!
Step 1: The Highlight color
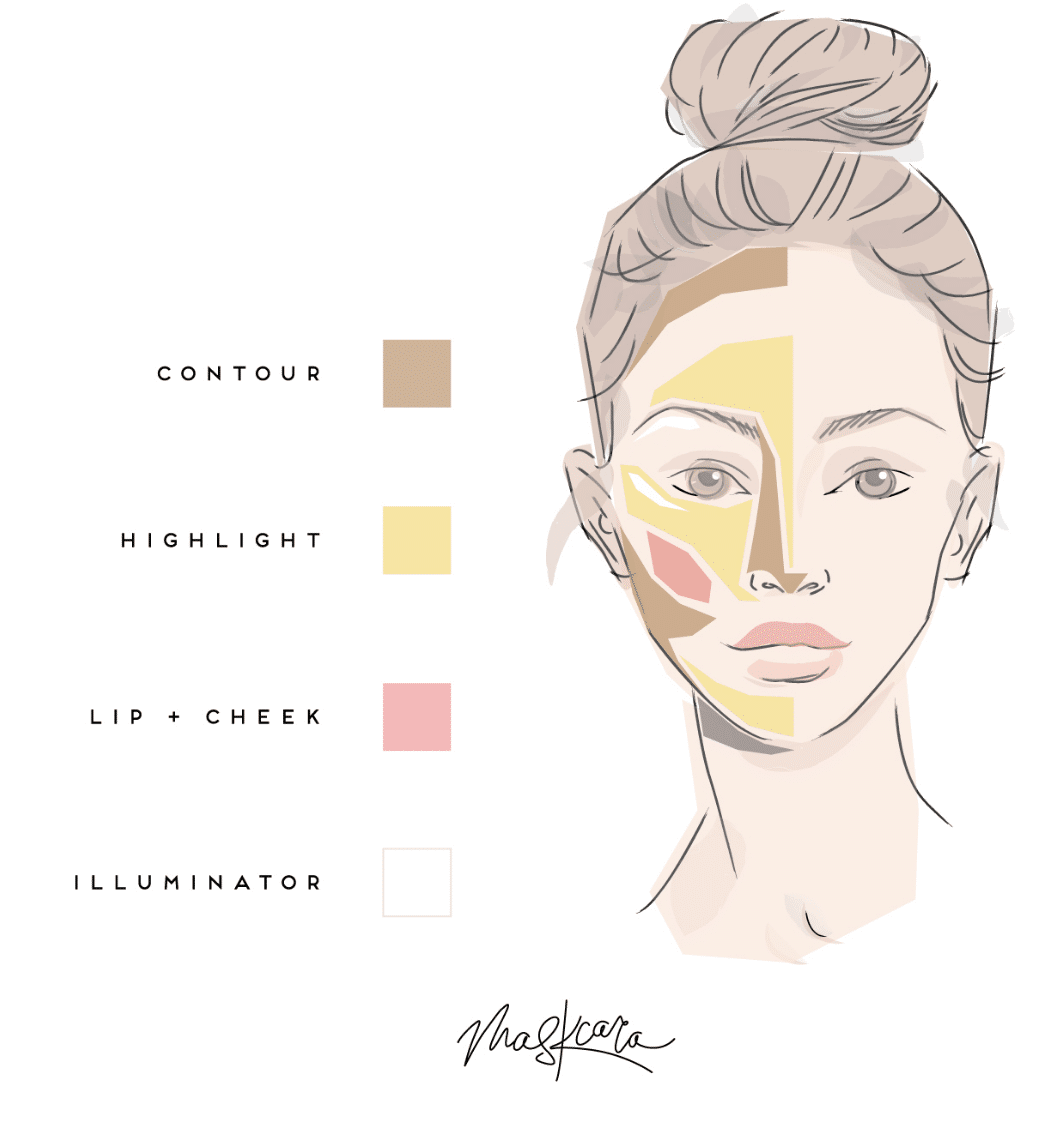
I like to start with the highlight color. This is the closest color to your natural skin tone. You will take the pointed part of your iiid Brush and wipe some highlight color onto the brush. Then apply the color under your eyes, in a triangle pattern onto your cheek area, along your nose, on your chin, and on your forehead.
Step 2: Contour Color
Then take your contour color and the other end of your iiid Brush and apply the color along your cheekbones, on your forehead along your hairline, follow the jaw line and blend down, and lastly along the sides of your nose. This is my favorite step because it really brings out your natural beauty and defines your bone structure and gives your face natural shadows.
Step 3: Blush
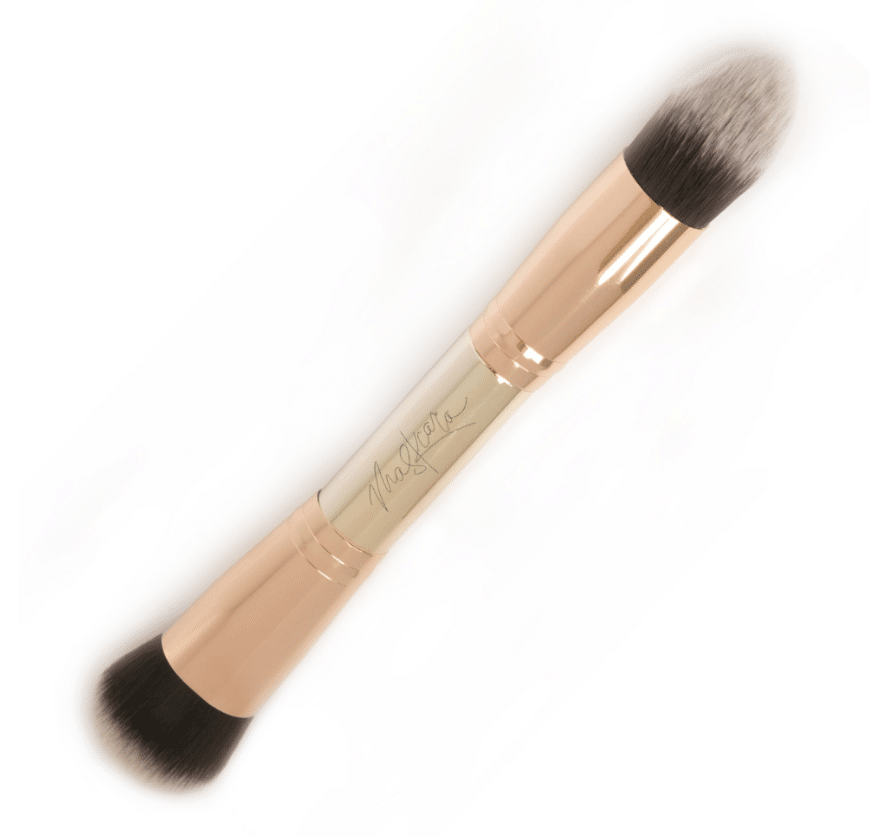
Now take your blush color and poofy part of the brush and lightly dab some color onto the apples of your cheeks in a circular motion. This will add the perfect amount of color!
Blush Brush
Step 4: Illuminator
To top the look off, dab some illuminator color above your cheekbones, underneath your brow bone, and on the bow of your lip.
Step 5: Perfector
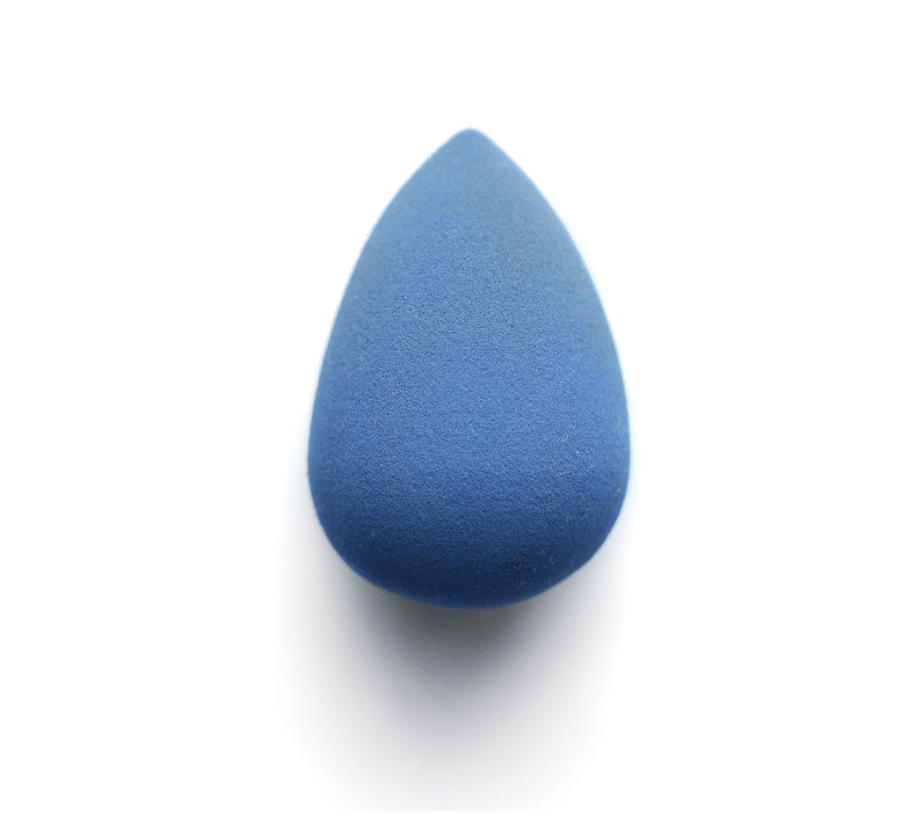
This is the magical part. Seriously. It’s amazing to see how polished and perfect your face ends up once you take the IIID Perfector Sponge and lightly dot your skin as your remove any excess makeup. And you are DONE!
This is such a simple process and can be done so quickly! It’s amazing to see how fast and easy everything can be applied and made beautiful! Now get out there Gorgeous and try it yourself!
Ready to buy your own palette:
For another step by step guide, click here!
Want to learn more about each process? Then click on what you need to know more about and we’ll teach ya!
