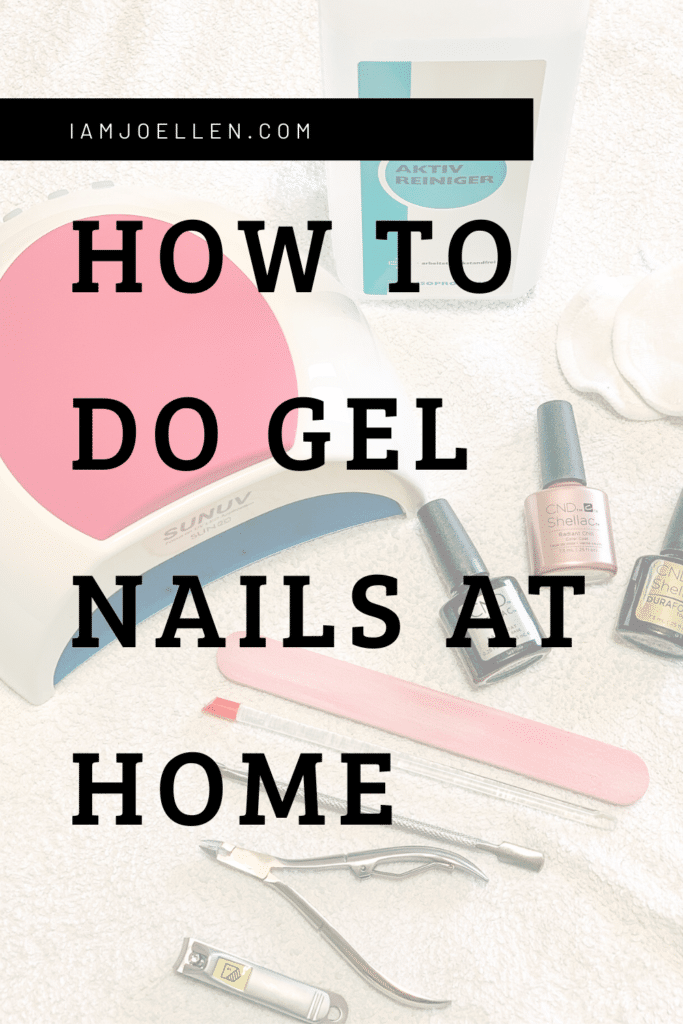
I love having my nails done. But I don’t love having to pay the money each month to get them done! It’s a luxury that adds up quickly! As someone who is trying to reach Financial Independence in 10 years, I have to choose the best ways to spend my money. So, I invested in some nail supplies so I could do my nails myself. Here are the simple steps on how to do gel nails at home that you can easily learn how to do yourself too!
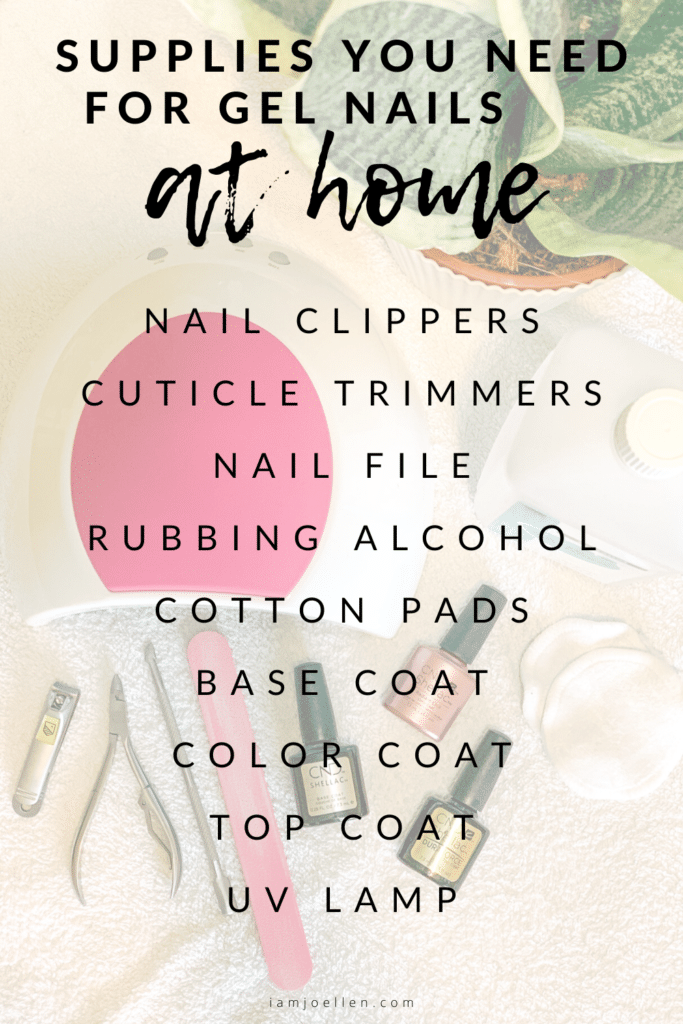
Supplies You’ll Need
Rubbing alcohol
Base Coat (I use CND Shellac Base Coat, but it can be hard to find. This is another great option)
Color Options HERE and HERE (I use CND Shellac, but this is another great option)
Top Coat (I use CND Shellac Dura Force Top Coat, but it can be hard to find. This is another great option)
Nail Prep
Before you get to painting your nails, you need to prep them so they’re nice and ready! You can soak your nails in warm water to soften your nails and cuticles. Then, trim and file your nails. Push your cuticles back and trim them. After your nails are all ready, take a reusable cotton pad and rubbing alcohol and wipe each nail to rid it of dirt, oil, or nail dust.
Painting Your Nails
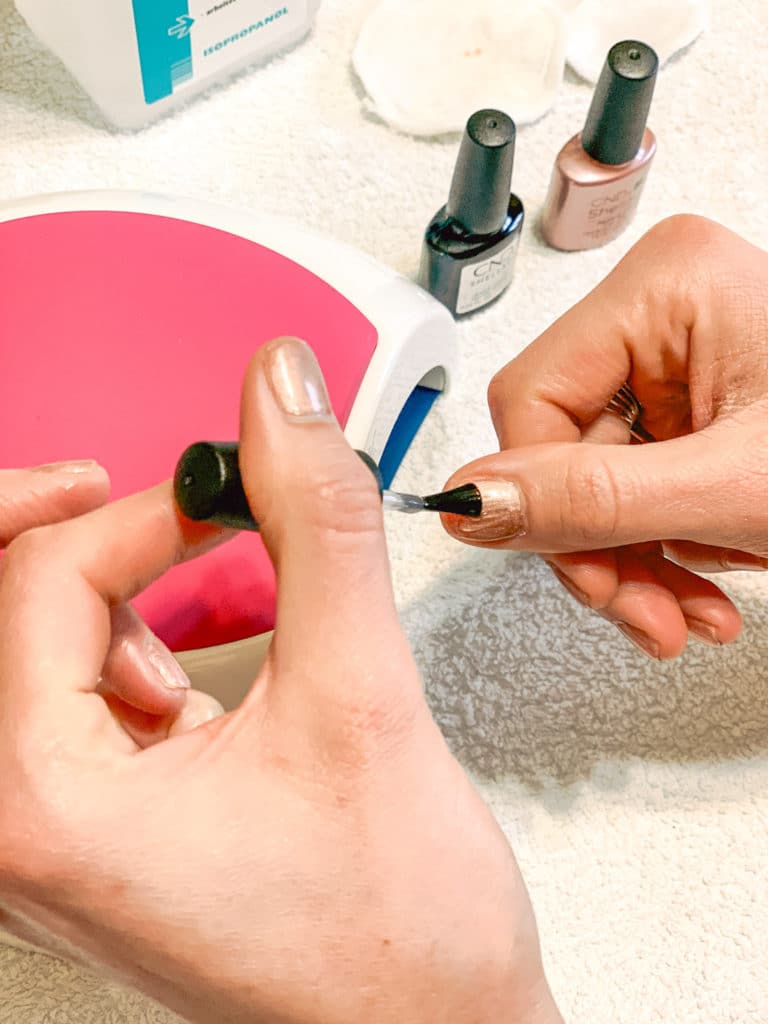
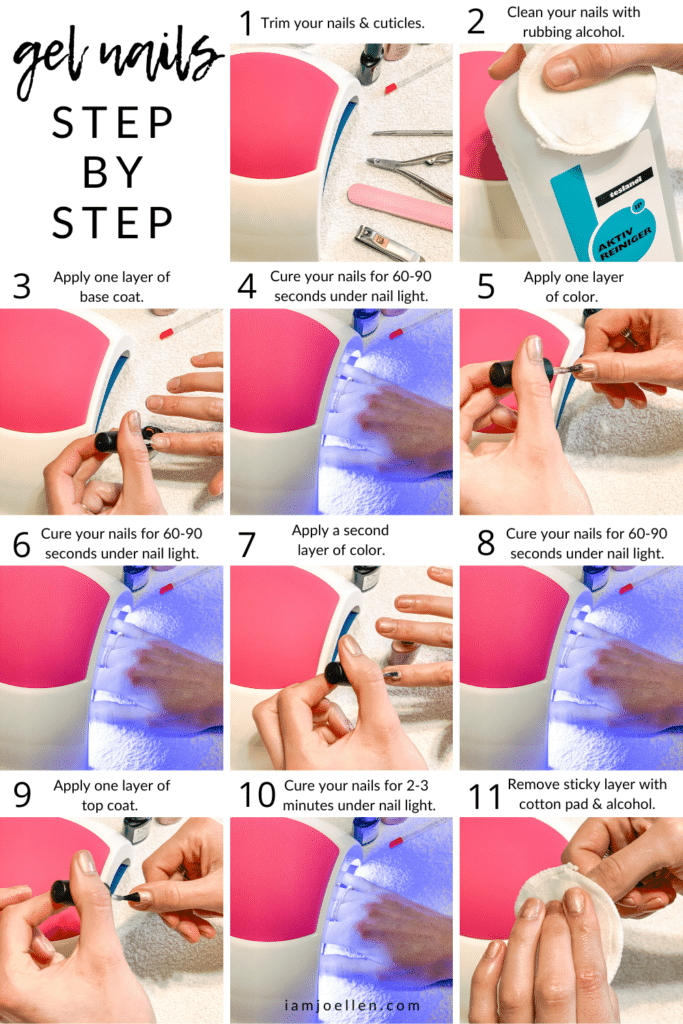
Once your nails and cuticles are trimmed and cleaned, it’s time to paint! Do one hand at a time to make it easy. First, take the base coat and paint a light layer on each nail. Make sure to not touch the cuticle or the skin on the sides of your nail. After each nail is painted, put your hand under your lamp for 60-90 seconds to let it cure.
Your nails are now ready for color! Take the shellac color you’ve chosen and paint a light layer on each nail. Again, avoid touching the cuticle or skin. Put your fingers under the lamp for 60-90 seconds.
Apply a second coat of shellac color. Do the same as before. Cure your nails under the lamp for 60-90 seconds.
Take the top coat and apply a layer on each nail. Cure it under the lamp for 60-90 seconds. I like to do one last cure for 60-90 seconds to make it really hard.
Then, take a reusable cotton pad and rubbing alcohol and wipe each nail to remove the sticky layer. Do the same process for your other hand now.
Easy Step by Step Breakdown
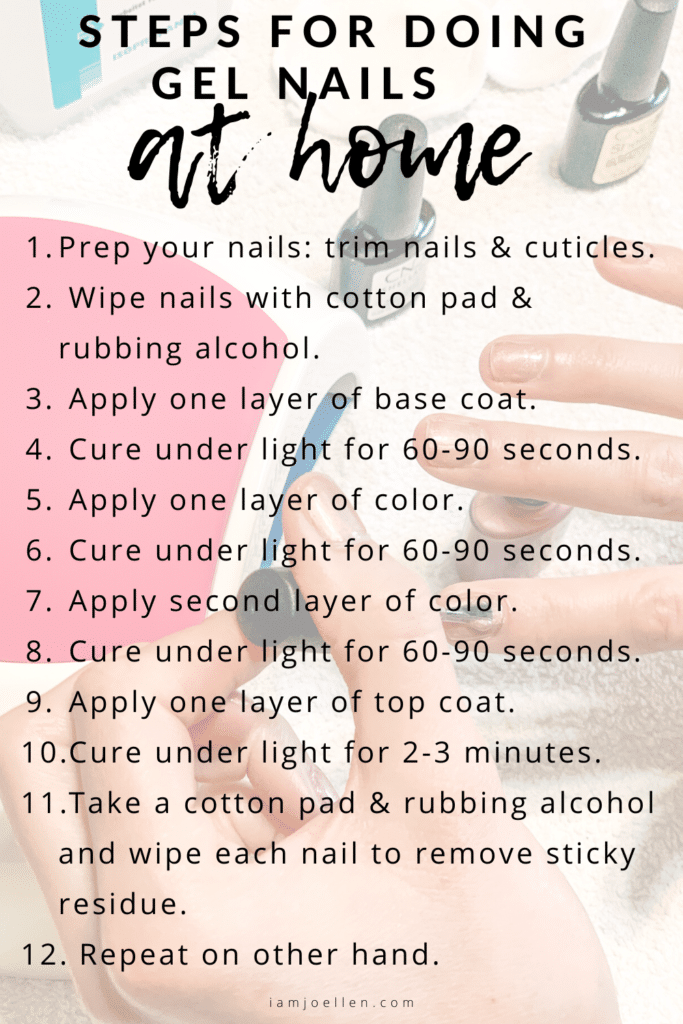
- Prep your nails: trim nails & cuticles.
- Wipe nails with cotton pad & rubbing alcohol .
- Apply one layer of base coat.
- Cure under light for 60-90 seconds.
- Apply one layer of color.
- Cure under light for 60-90 seconds.
- Apply second layer of color.
- Cure under light for 60-90 seconds.
- Apply one layer of top coat.
- Cure under light for 60-90 seconds.
- Cure under light for 60-90 seconds.
- Take a cotton pad & rubbing alcohol and wipe each nail to remove sticky residue.
- Repeat on other hand.
And that’s it!! You’re done! The whole process should take around 30 minutes. So put your favorite show on or listen to a book or podcast. Learning how to do your nails at home is an investment, but you’ll end up saving so much money in the long run!
You can save money by learning how to care for your brows at home too! Learn how HERE!
*This post contains affiliate links. If you purchase an item featured here, I receive a small portion from the sale…thank you! It doesn’t affect you at all.
