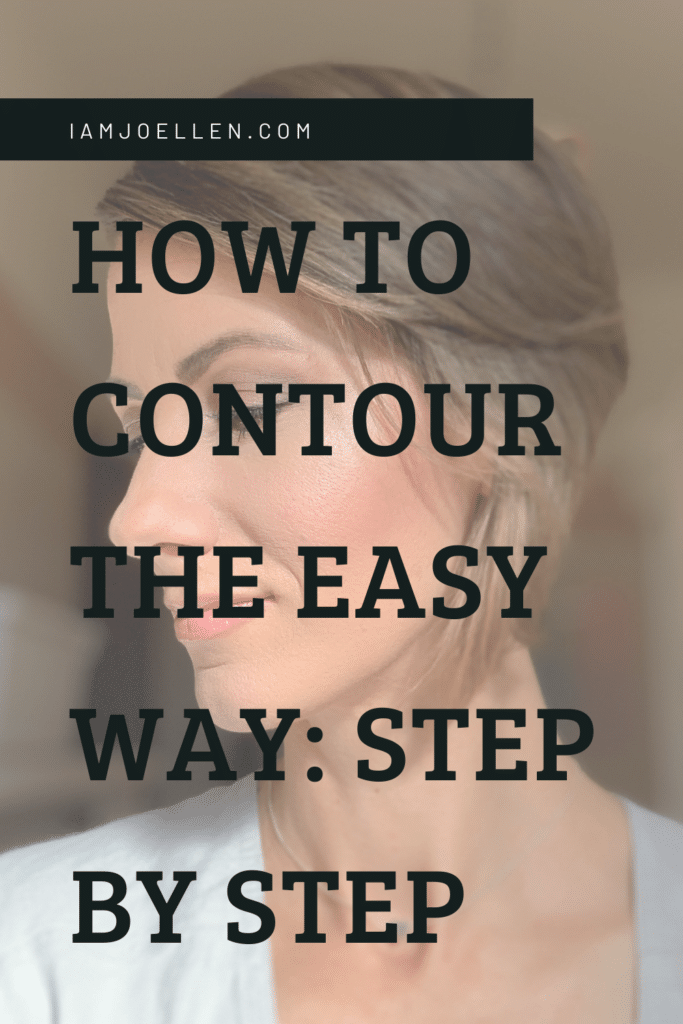
How to Contour: Step by Step
Contrary to popular belief, contouring is for the everyday woman! Contouring is not just for actresses, models, and makeup artists. It’s for you. Yup….you! And when you have the right products and tools, you can easily master the contouring process in your little ol’ bathroom or car or office or gym….wherever you choose to put on your face. It’s that easy. Here’s how to contour the easy way….a step by step process so you can learn the tricks of the trade and feel extra confident in your skin!
Why You Need to Contour
Most women’s makeup routine consist of putting a layer of foundation all over their face to even out their skin tone, add some blush, maybe some bronzer, dash some eye makeup on and call it good. And it is good. But, don’t you want to look great?!
You see, when you put one layer of foundation on your face, you’re getting rid of the shadows, the dimension, the shape of your face! You’re putting one flat finish on and calling it good. But a flat face looks lifeless. We don’t want that! We want to look feminine, beautiful, chiseled, alive, radiant! And contouring does that for you! Contouring brings back the shape and dimension. It gives your face life!
What You Need
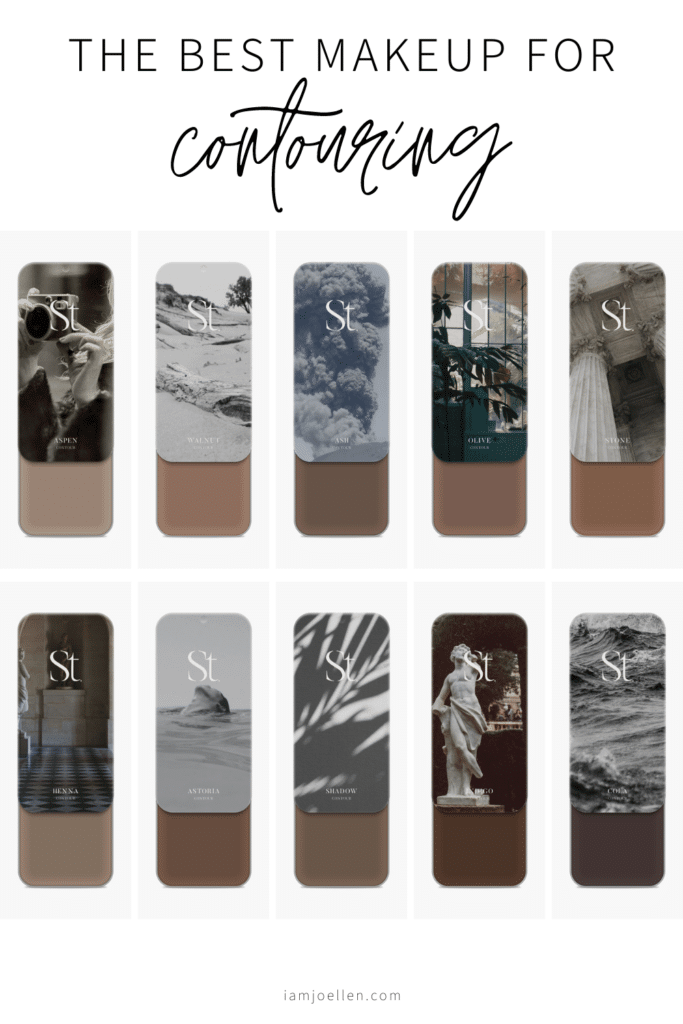
To contour properly, you will need a few things. You will need: contour, a brush, a makeup sponge. That’s it! But let’s quickly chat about what kind of contour you need… Contouring is meant to create shadow. So you want an ashy tone brown…not an orangey tone that makes you look fake. You can find the best contours HERE.
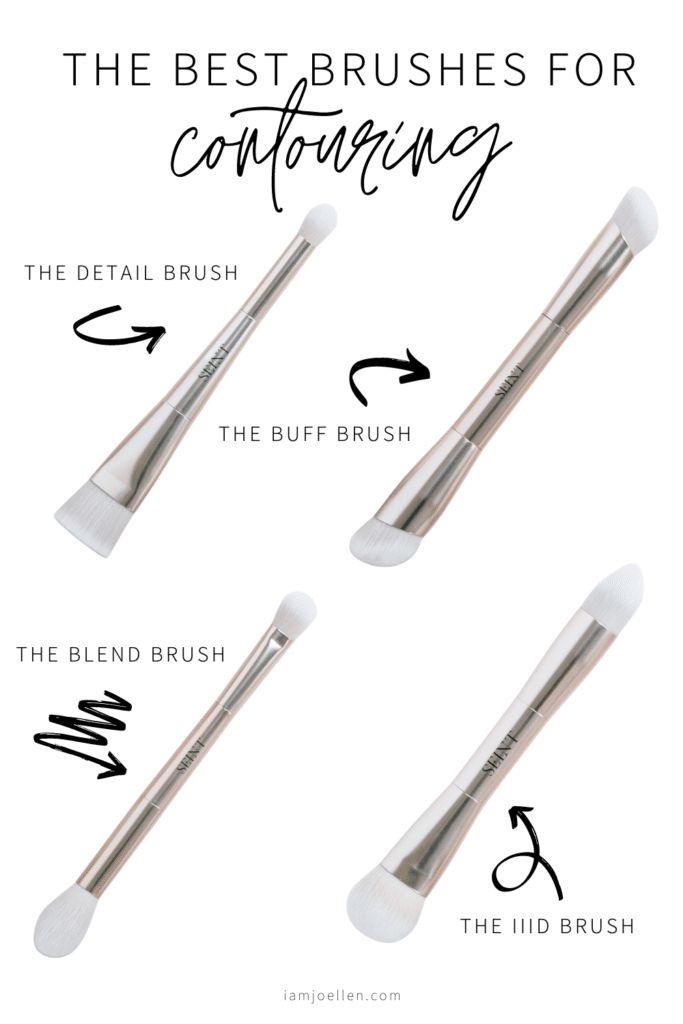
For brushes, you want one that will follow the curves of your face nicely. Any of these brushes are great for contouring:
Where to Contour
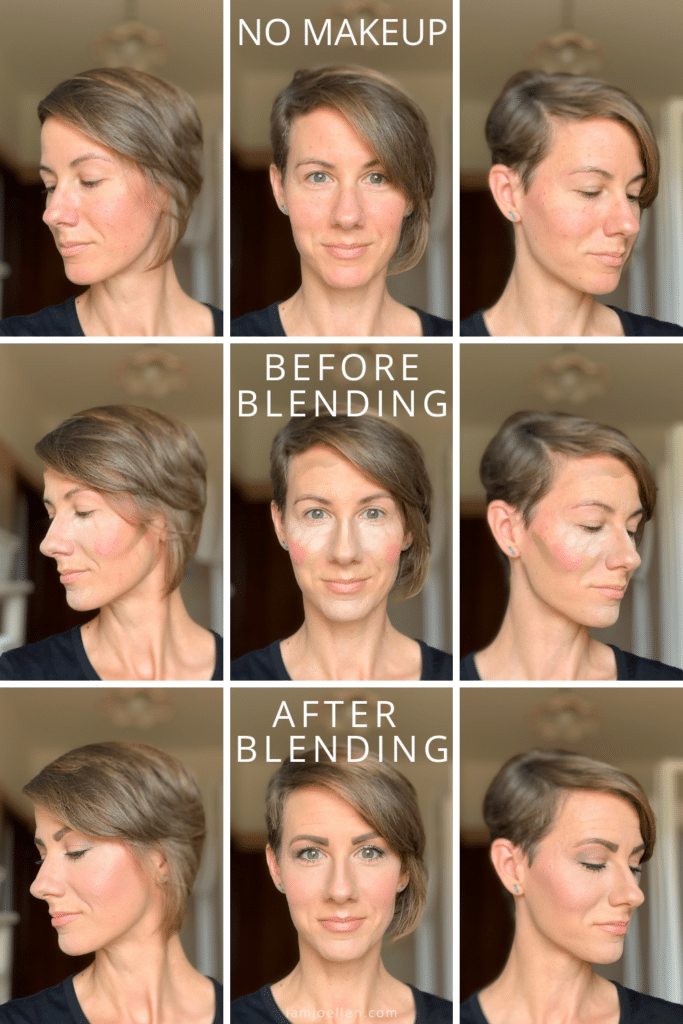
Now let’s get to the fun part! Once you have your proper tools, let’s contour! Like I said before, you want to bring those shadows and dimension back to your face after applying your foundation. You want to focus on applying contour to your cheekbones, your jawline, along your forehead near your hairline, and along the sides of your nose.
You can apply the contour with your finger or your brush…whatever you feel the most comfortable with! You can see an easy way of using your finger to highlight & contour HERE. You can also watch this video to see the step by step of how to apply contour with a brush.
Blend, Blend, Blend!
Once you apply your contour in the right places, make sure to blend! You want to look as natural as possible so blending is key! Blend with your brush first and then go back and blend for a flawless finish with your makeup sponge. To use your makeup sponge properly, run it under water and get it to double in size. Then squeeze all the excess water out until it is just slightly damp. Then dab, pat, stipple the sponge all over your face to pick up any excess makeup lines. And that’s it!
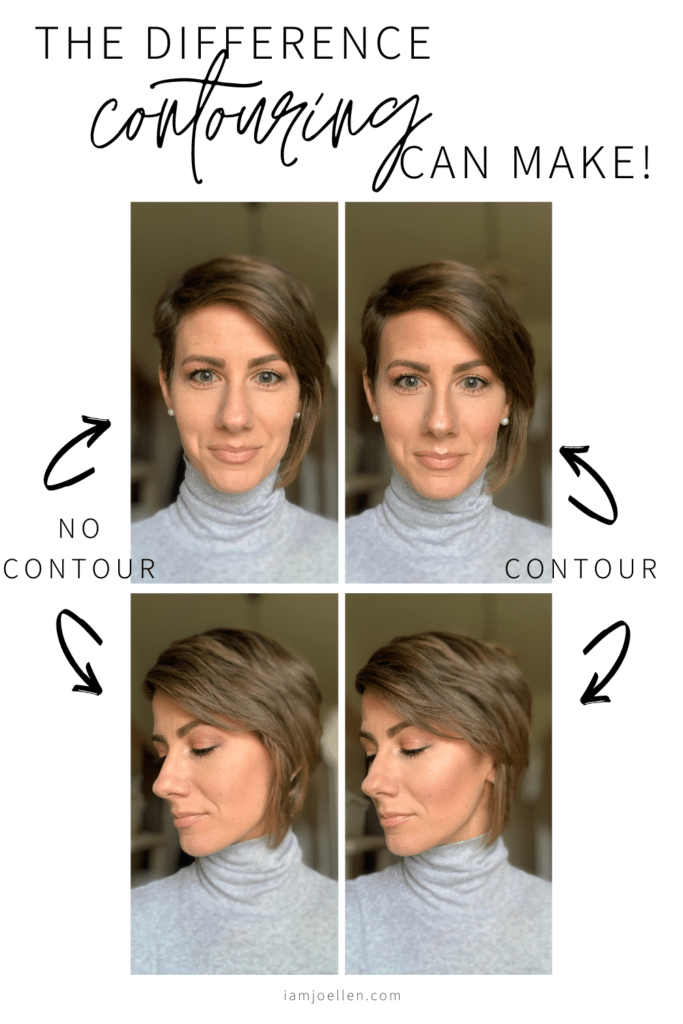
Contouring is so easy and such a necessary step in the everyday woman’s makeup routine! If you need help figuring out what colors would work great on you, you can take the quick quiz HERE. If you want my personal help to get a more accurate recommendation, then fill out this easy form HERE. Once you learn how to contour, you won’t ever want to go back to your old makeup routine!
*This post contains affiliate links.
